Introduction
In this section of the blogpost I will be going over editing and creating the last section of the video. The video was editted with Adobe Premier Pro, along with the last section also being mad ein the same software.
Editting
To start with I imported the video into Premier Pro, this is done by simply going to import and selecting it, I made the mistake of recording my sequence as something not compatible with Premier Pro and so had to re-record it as a MP3 and import that, leaving me with this.

From this I went through, using the markers below the screen to mark key points, such as when each scene ended and when I wanted to cut the scene up for the video like I had planned. Since I have never used the software before I had to figure out how to, which I quickly realised on solution. Go to where you want to cut and go back a frame, press the open bracket and go forward one frame, press the close bracket and go into sequence and select lift. This will remove this frame and seperate the two videos, obviously this removes a frame but it wasn’t much lost give it is 30fps. I also removed some of the parts I didn’t want, such as the part where you can see the first scanner still, make sure you group your video and sound before moving each section, as even though mine has none, keeping it neat like this helped me know what was what and helps keep it clean and easy to understand. The result of that being this, don’t mind the -1s I don’t know what they mean, but they had no impact on the video.

The part all the way to the right is the scanner scenes I moved, other than the first which I left where it should be, then the scenes are still in order otherwise. Once like this I made sure to put them how they should be according to my storyboard, scene, scanner and repeat until door scene.
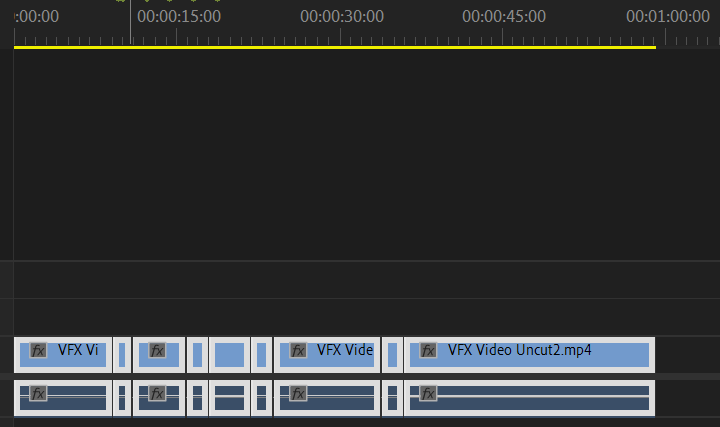
This is it complete, however I noticed that as you can see, the video is just under 1 minute, which as the requirement for the assignment, leading me to use CapCut to make another scene I could put in to help the introduction be less blunt and help the length meet the requirements.
Beginning Scene
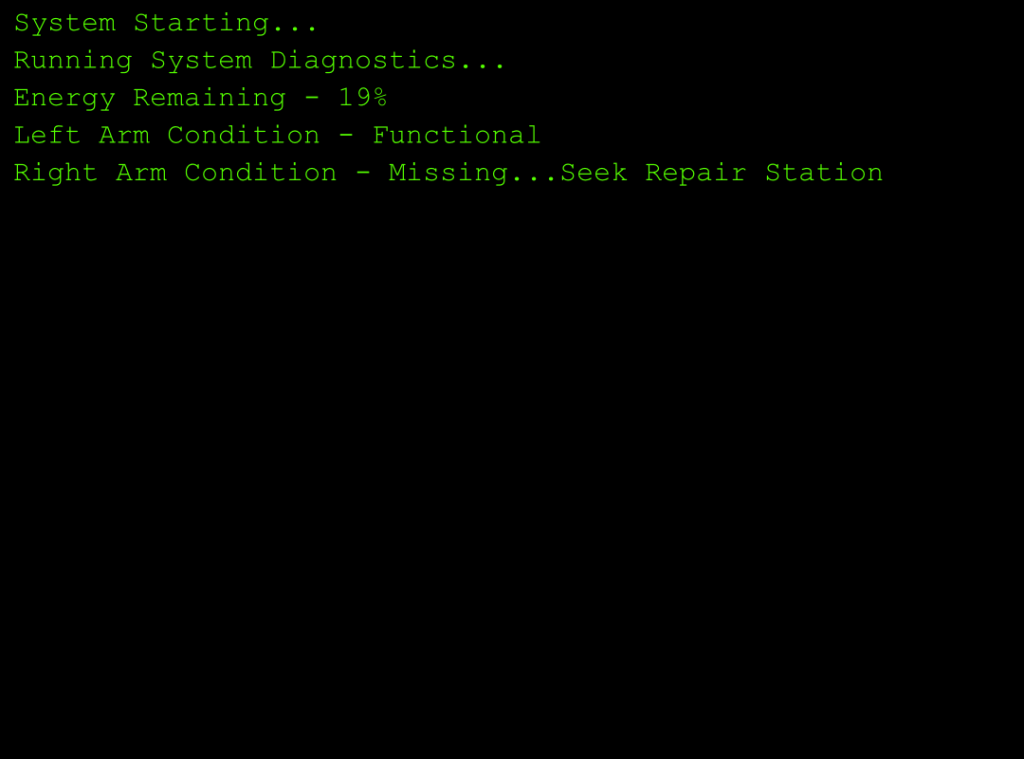
I looked back at my Pre-Production storyboard and realised I missed a scene as I deemed it impractical to made in unreal, the starting up sequence. However I now realised I don’t need to make it in Unreal, I can make it in CapCut on my Ipad and add it on the start of the sequence. To start off I made each scene in my art app on my Ipad, IBIX Pro, here they all are.


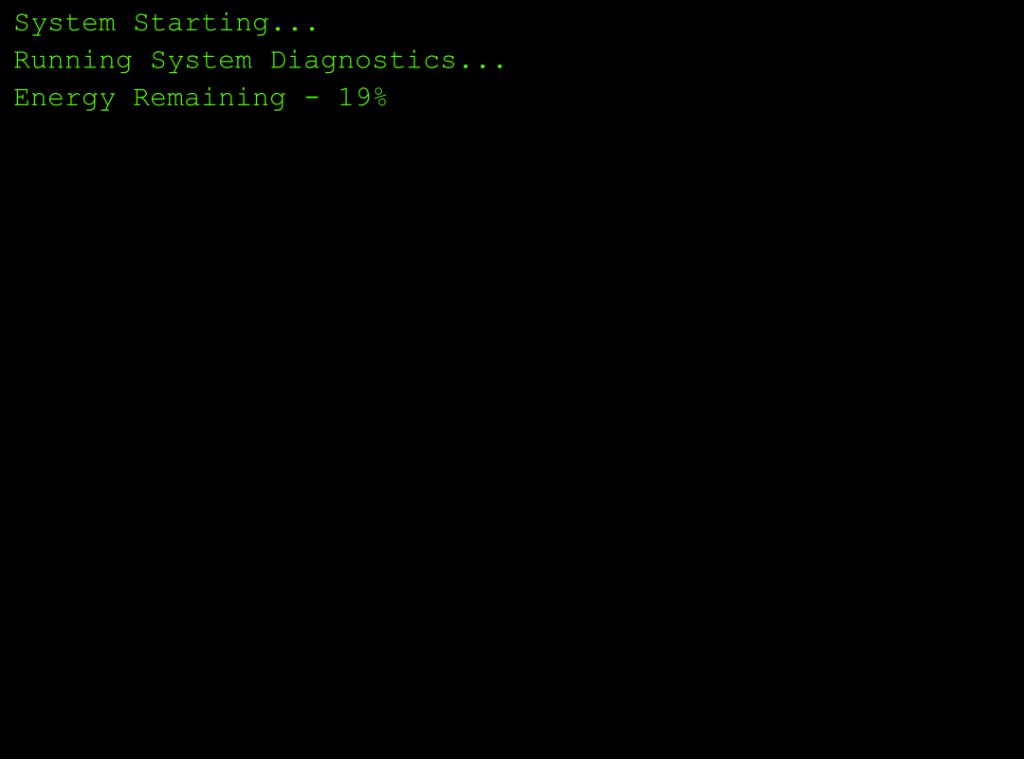
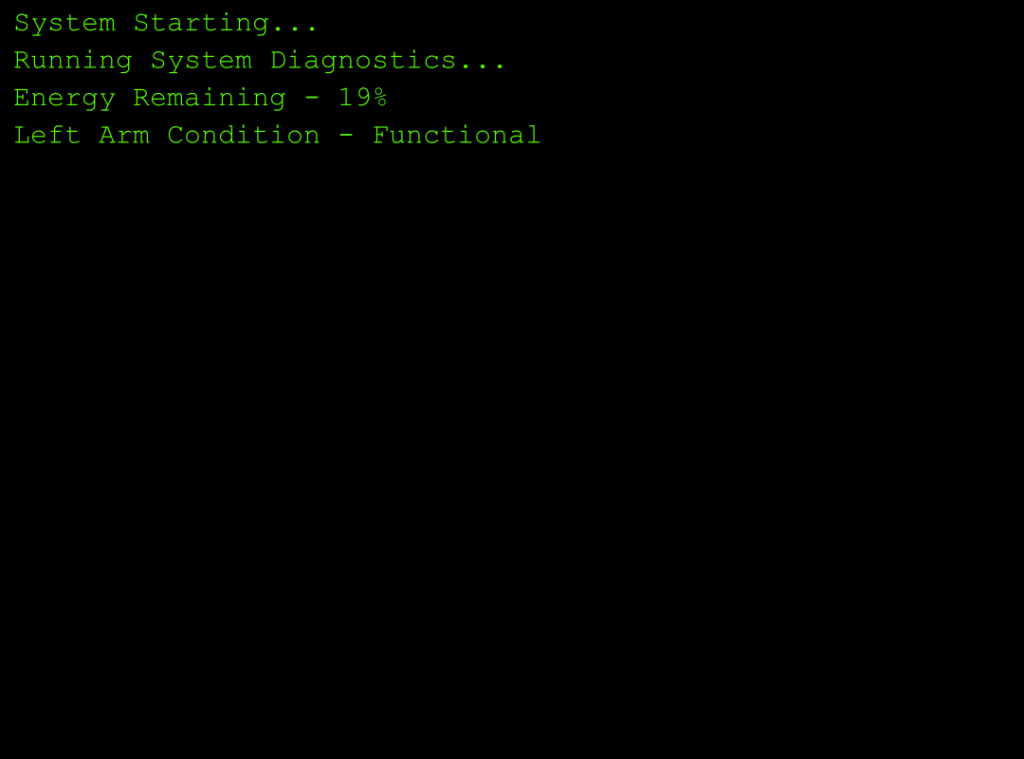
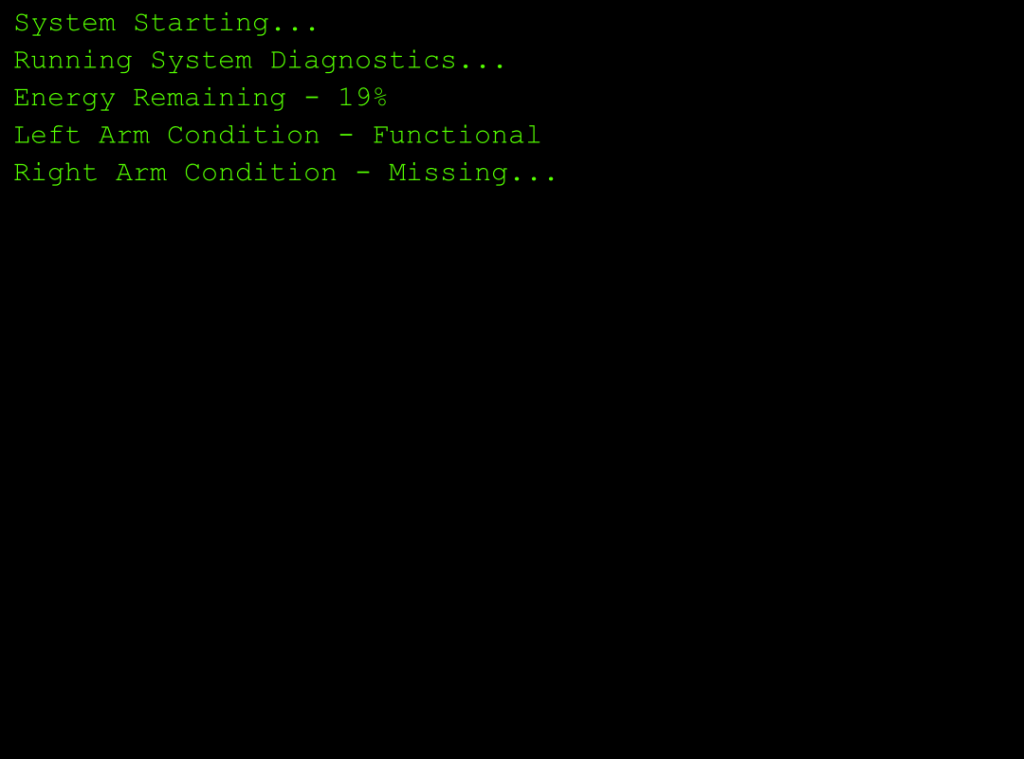
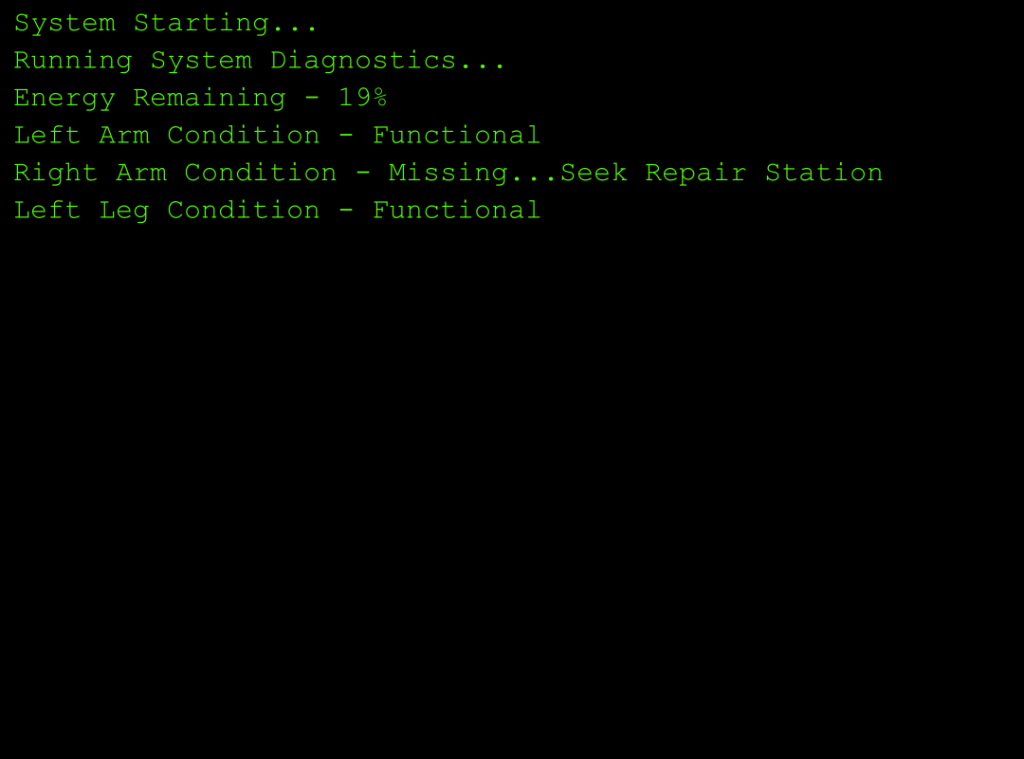
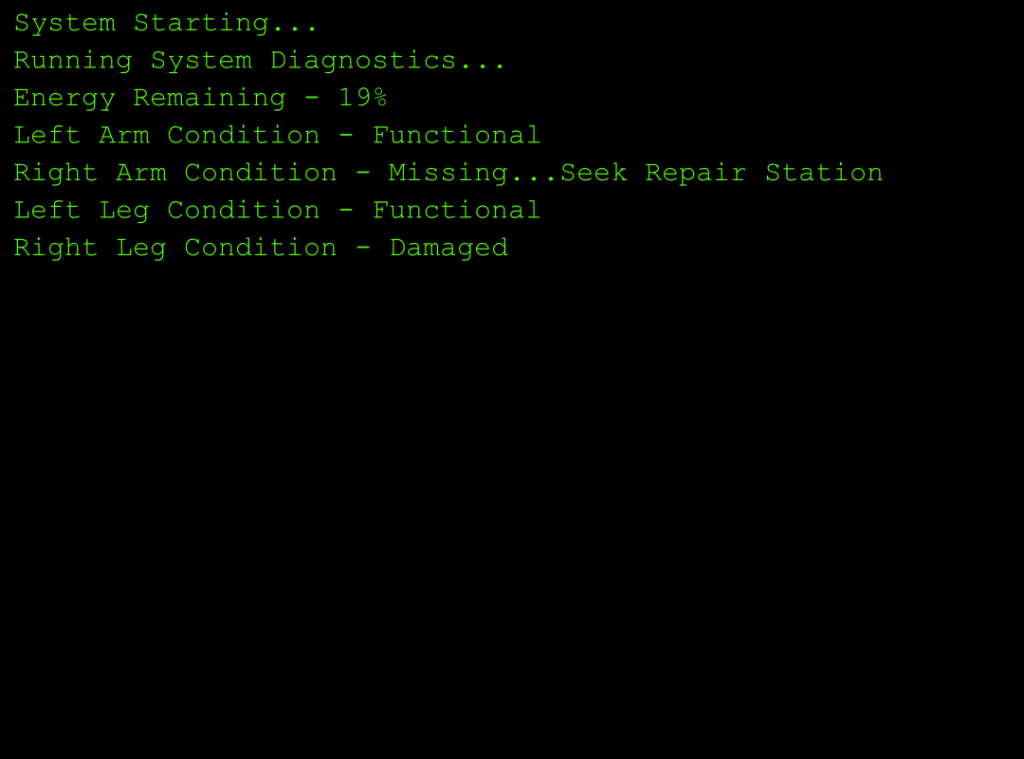
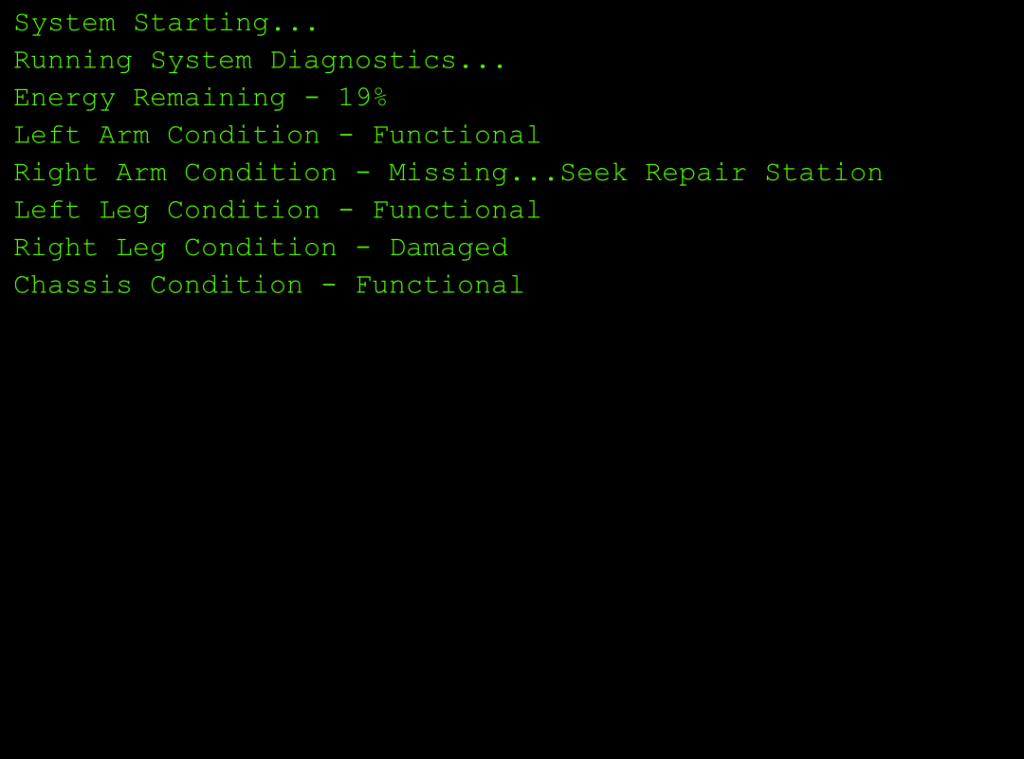
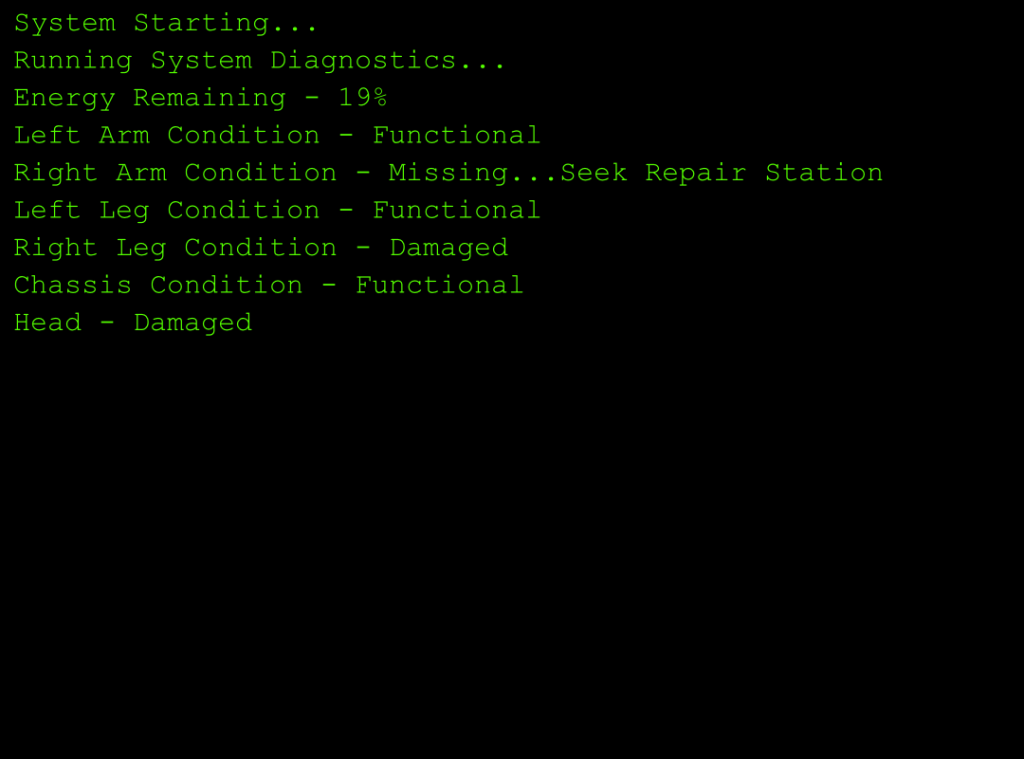
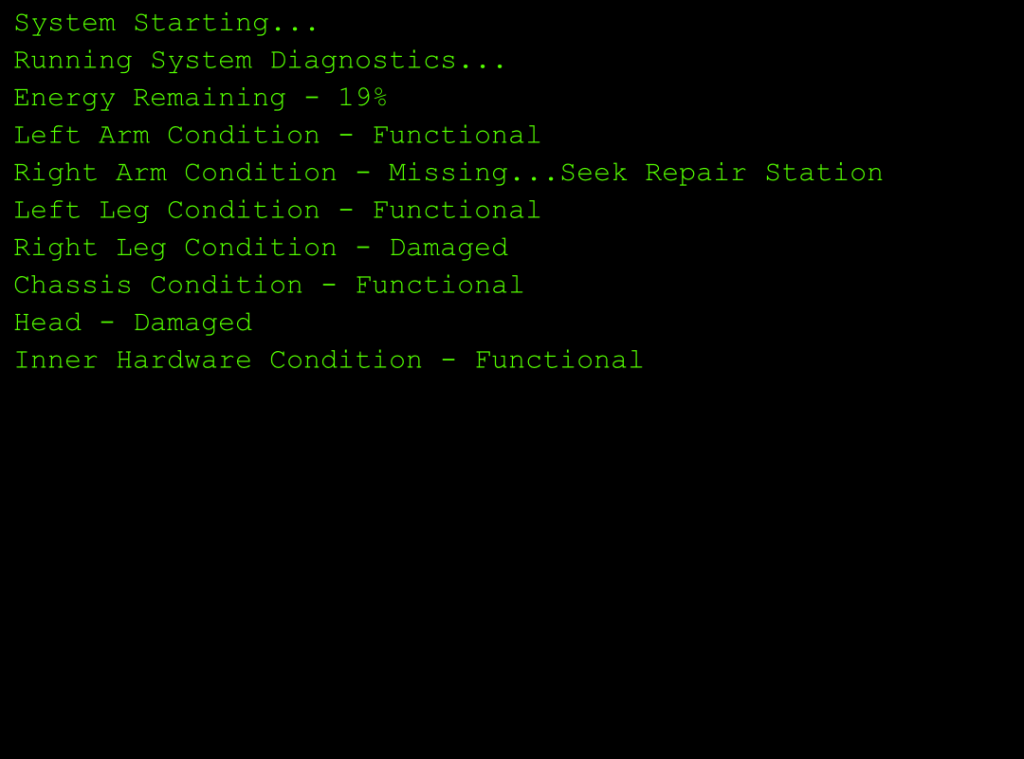


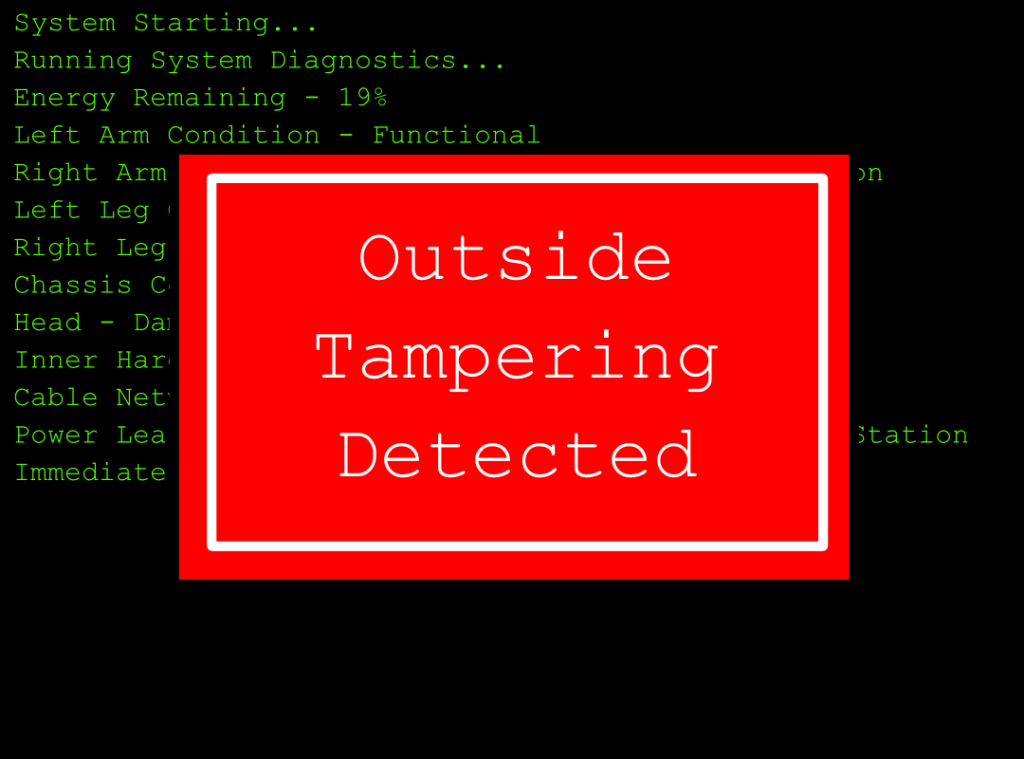
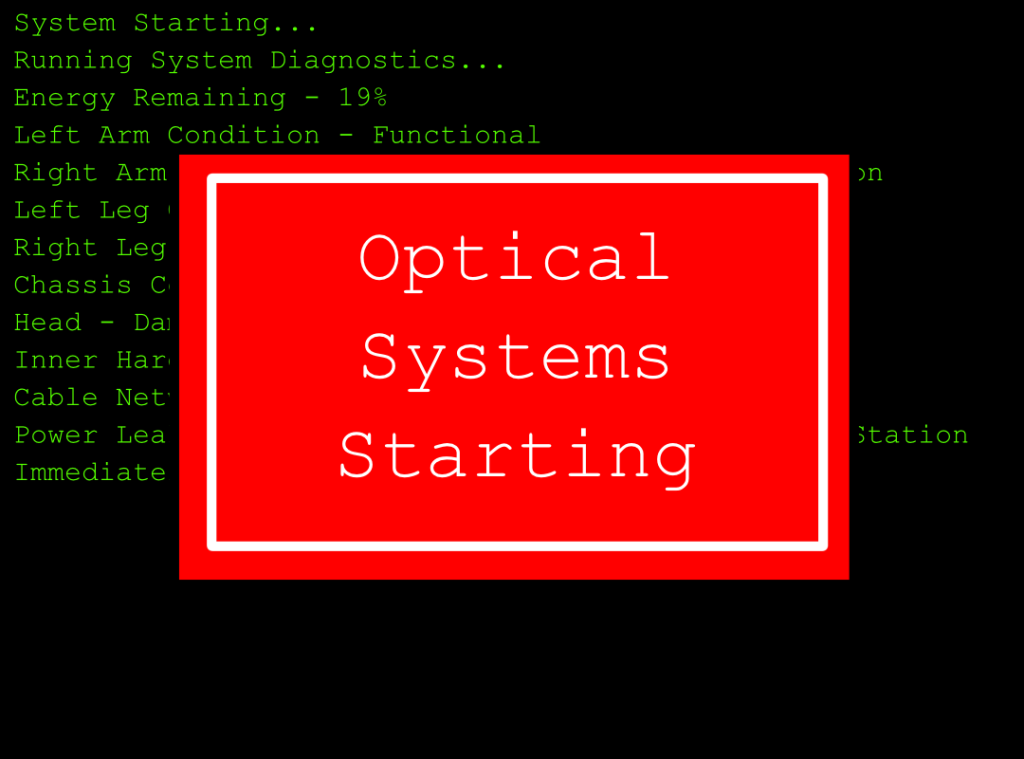
Now with these I simply imported them all, changed the timings and got what I pretty much wanted for the scene.
I now notice I messed up the starting sequence, it says head instead of head condition, I quickly fixed this, wanted to include this to show even now I am making and learning from my mistake.
Now with this made I simply went back to Premier Pro and imported it, putting in the beginning like so.

Now that the video has a better beginning, has the scenes the right way around and has had the unneeded parts cut it has left me with this video, which is now just missing sound to make the video complete.
Sounds
Now to help the experience I am going to add sounds as even though sounds are optional, I feel they are pretty important to get the feel I want for the sequence across, so I went on google and found the following sound effects:
The first is for the end to act as the robot shutting down from the i,pact, the second is for moving the camera in 1st person and the door openning, the third is for the steps of the robots, the fourth is for the scanner parts, lastly the fifth is for when the robot gets up in the final scene.
I then had to edit them, I did this in Premier Pro by changing the speed/duration and using the remix setting to also change the volume to make sure the experience isn’t unpleasant. Other than that I just split up the scanner in 4 pieces and gave each part to each scanner section. Here is what it looks like after the sound was added.

Then after exporting I now have the completed video.