Introduction
Due to basically making two assets to make into one, I have split them up in development as that is how I worked on them after all. Plus the skull goes through alot more development since it just has so much more complexity
Skull
Firstly I will admit this is my second try at the skull, my first didn’t use a reference image plane, after I realized this existed again I restarted so it wasn’t as much based on guesswork, images on this last attempt are below:


Using the reference
The reference I got these screenshots with are on this website: https://sketchfab.com/3d-models/tree-boa-snake-skull-7f48cbcbf2c94a7ea49b04b21ae83390

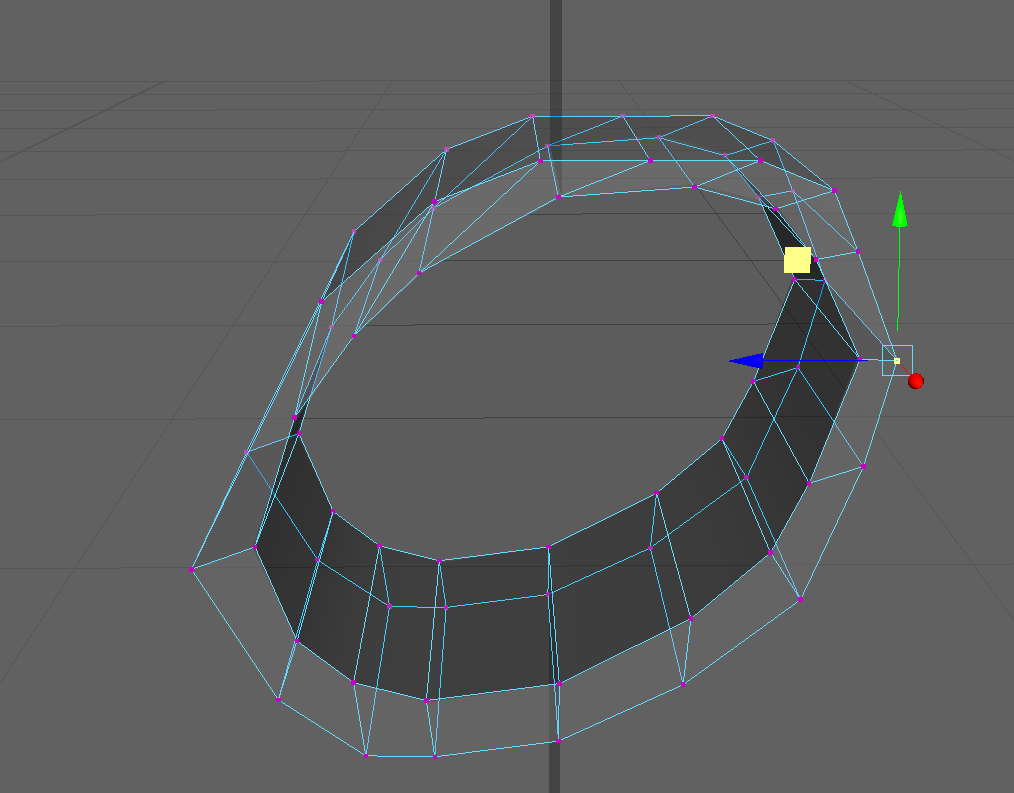
Firstly I learned from another project not to use multiple objects in one piece, as this messes up smoothing, the connection points don’t move as so your left with jutting out points, which ruin it, so this cube it what I used to make the top and bottom, just one for the top and one for the bottom. This is so I can later on open it for the spear to go in

First I traced the bottom jaw in X-Ray mode (so I can see the reference as I go)

Then making sure to get the teeth after I have the basic shape

Then doing the same for the top half

Then using a image from the top for the top part to get the vertical parts correct too

Here you can see it after having done that

Then having realized I need a bottom view for the bottom too

Here you can see me getting the vertical dimensions on the bottom

Then here is both after, as you can see the teeth are connected, which I will fix later, first I wanted to make sure it looked right from the front too

Here is me doing just that for the front

You can see the change more here, having the nose in more, and here I am now separating the teeth, I am doing this by just using the multicut tool and marking the places on the teeth I want to separate them on. Then deleting the in between faces and replacing them with the bridge tool so the teeth are now stand alone and not just one big line

Issues like this happened alot, where the faces just seemingly decided to go over space they were not connected to

I fixed this by adding connections with the multicut tool, which seemed to stop the software’s confusion on where the face should be

Here you can see all the teeth have been separated, and again the front being more snake than t-rex like, which is why I did the front reference to try, refine it more

Here I was making that separation the bottom jaw has, but then realizing it goes all the way down. I did this by just using the multicut tool and removing the middle, hence the missing spaces in the middle section

Here is it fully separated and the openings covered with the bridge tool

Then finally adding the nostrils and eye holes

Bridging the gaps in between as yes I know the inside is a lot more complex than that, but given how new I am to this, I feel this is as far as I should go really so I don’t end up going overboard and over my allotted time

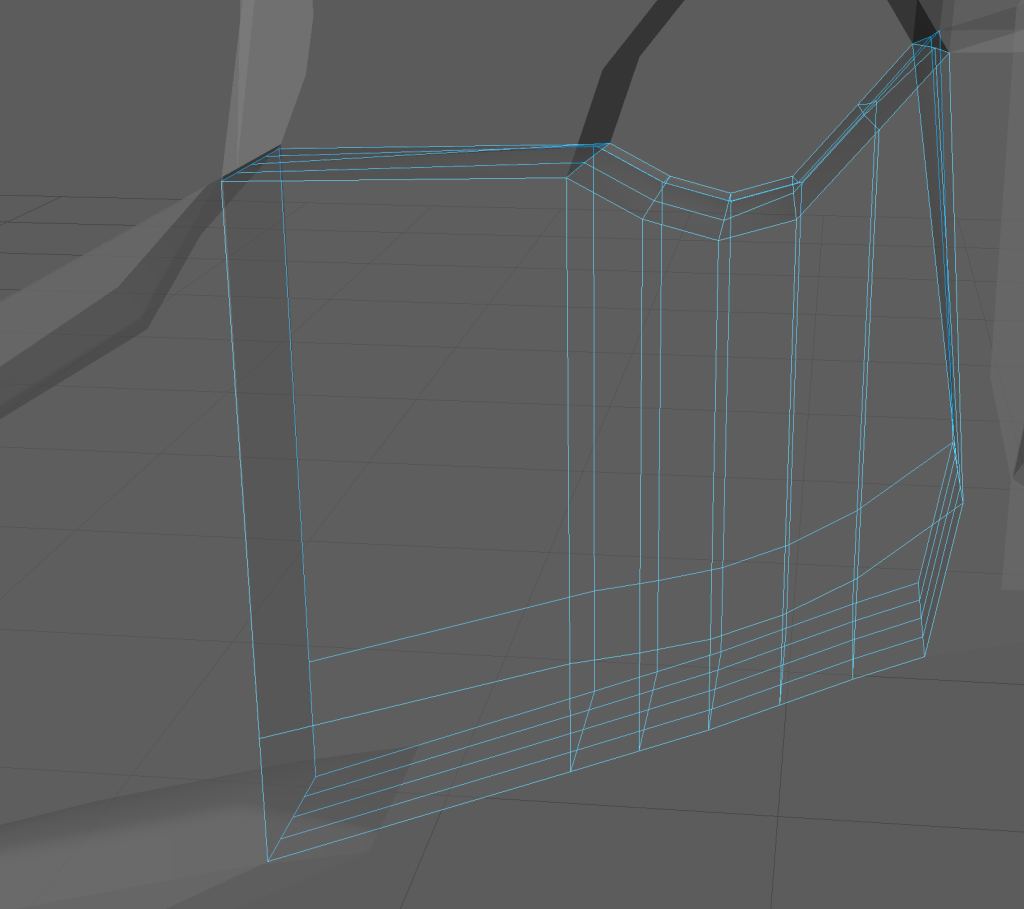
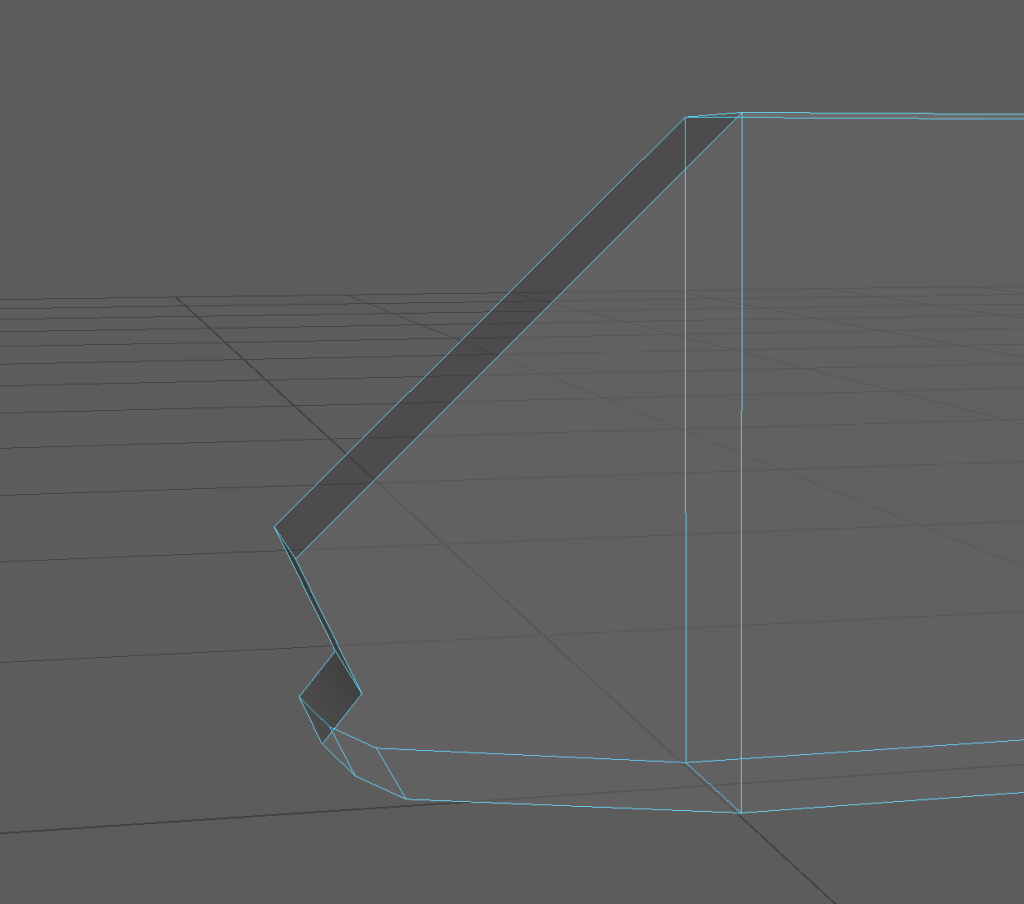
Then finally opening the jaw for the future spear to be holding up.
The skull was pretty hard, alot of it was using the multicut and bridge tool, to make sure to get what I wanted out of the shape while keeping it as one object. Early on I actually was selecting faces and while holding shift you can extrude the faces, making another shape basically from it, which is how I made most of it at that stage. Then when I needed to change direction or shape I used the multicut tool to do so
Spear
Okay so now we need the low poly of our spear, I realized I basically am making two objects just about now, but I already restarted some ideas and I liked this one, so I wanted to stick with it.


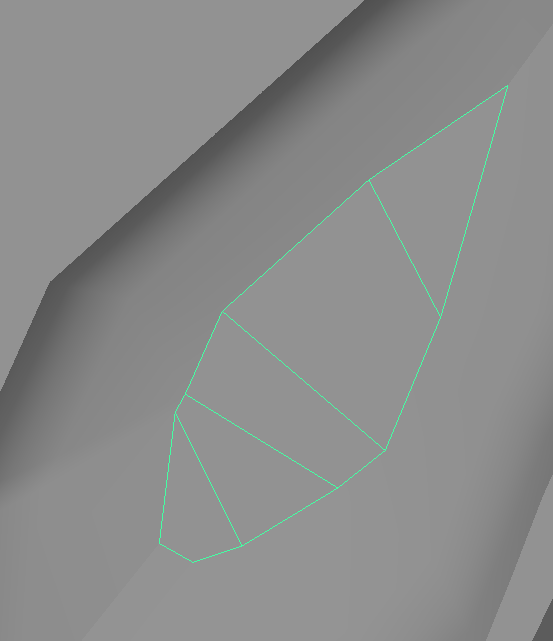
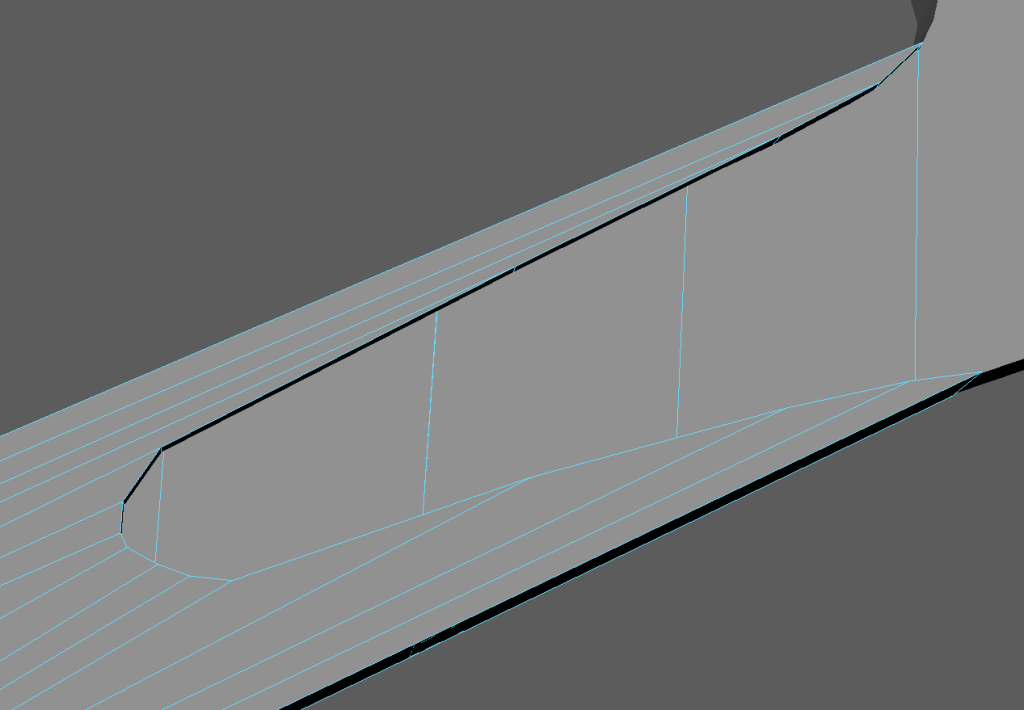
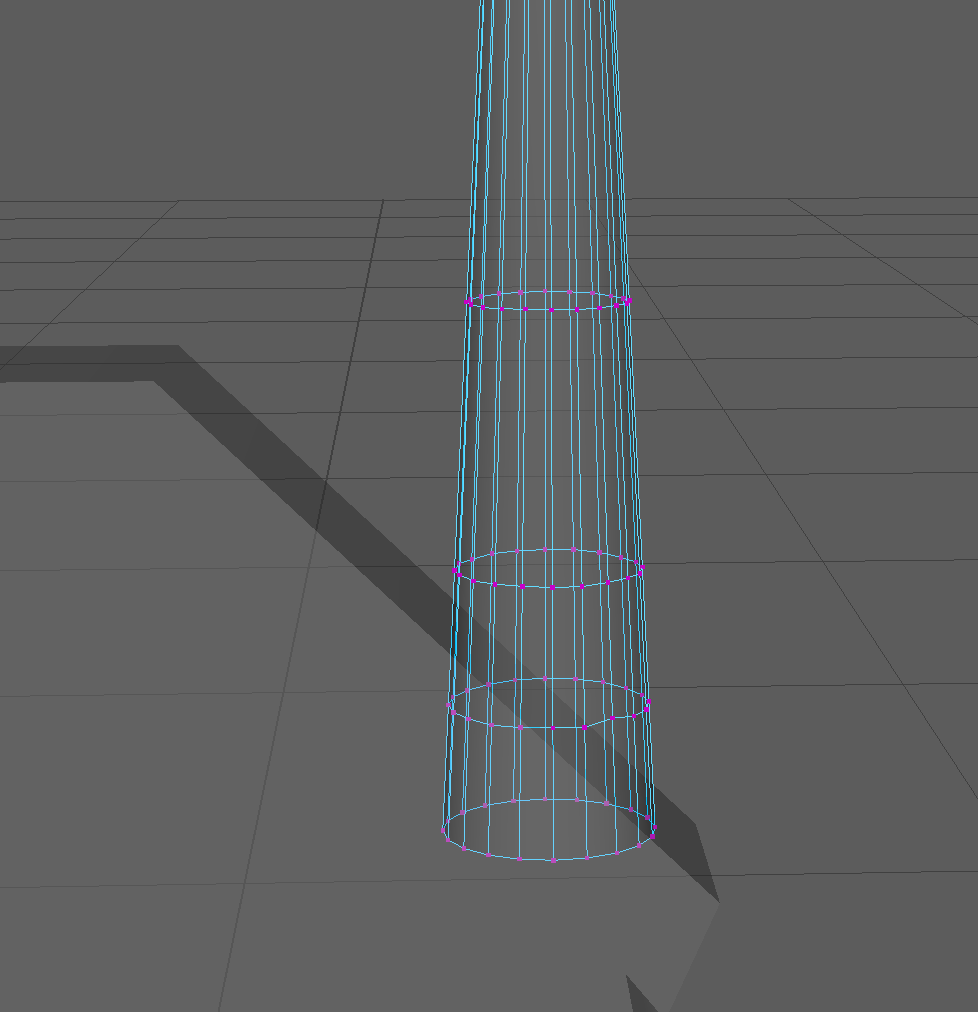
Firstly I got a cylinder and used the multicut tool to give it holes for the grips, the reason why I added the extra loop is so it doesn’t affect the spear outside the grips

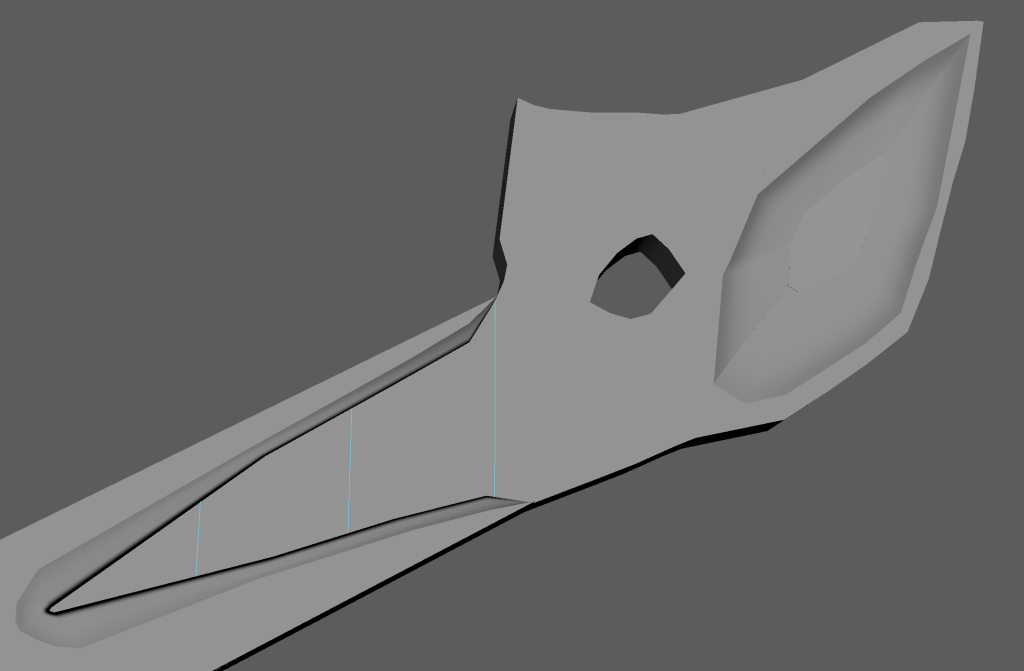
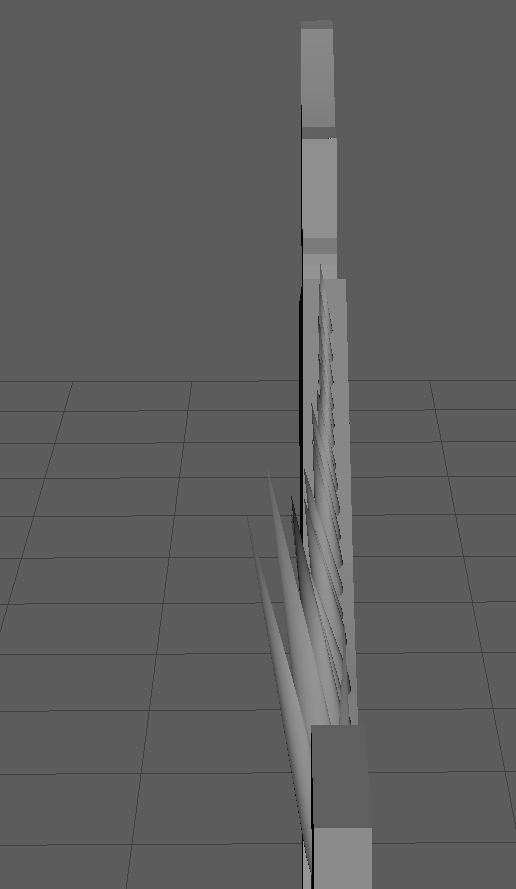
Then I added another on the top connecting to a pyramid I changed to be more flat on one side so it resembles a blade more

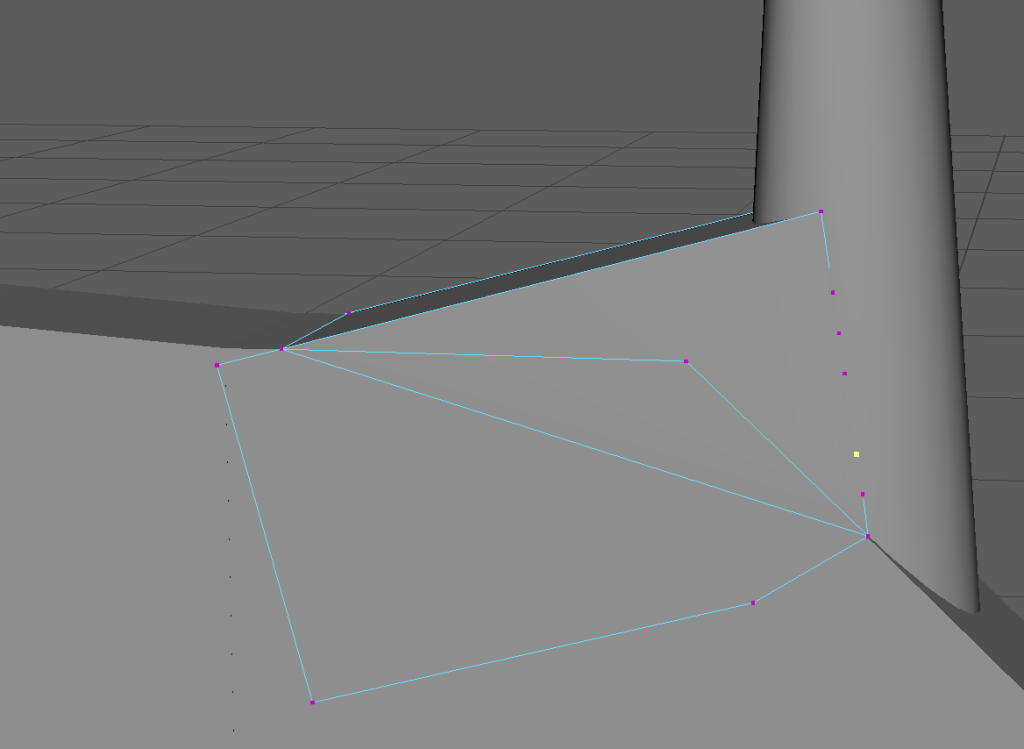
Here you can see I used the multicut tool to connect the bottom vertices

And then pulled it out to make the blade look connected more so to this bottom part, it also saves connecting a whole new one into the mix aswell
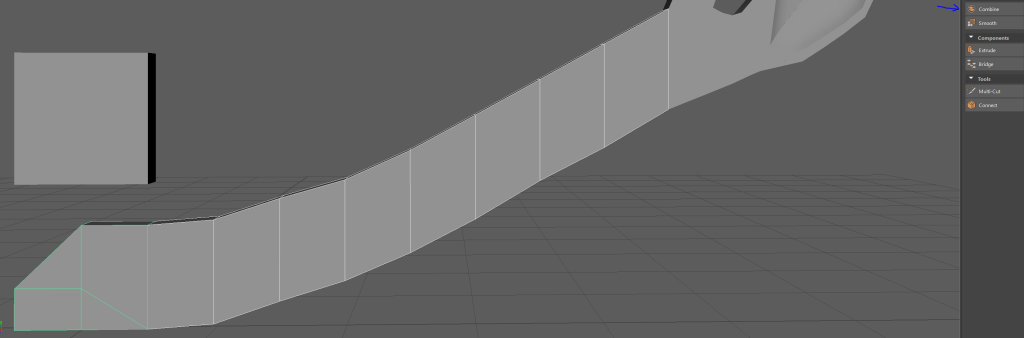
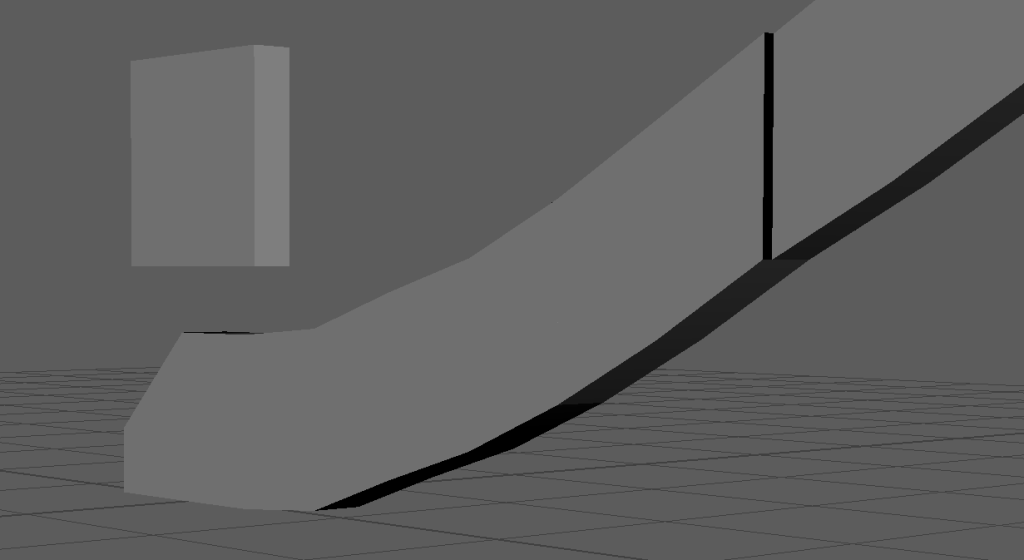
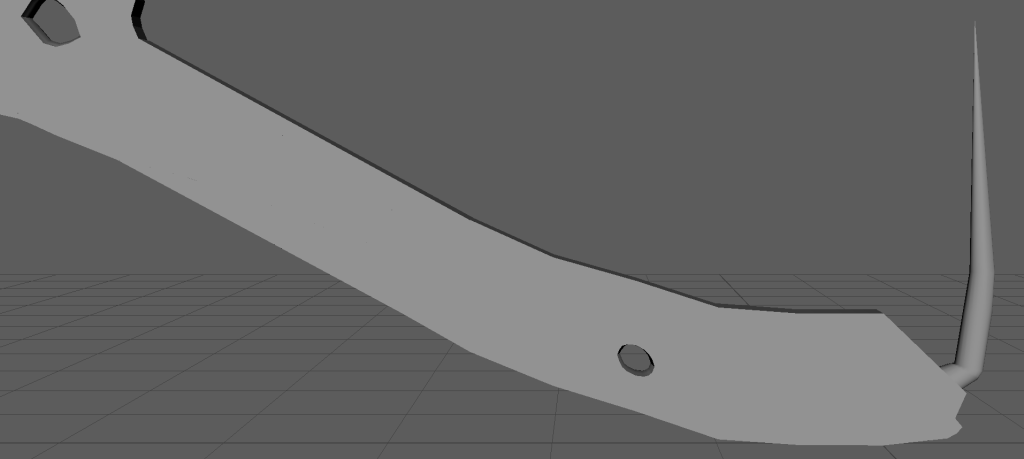
Then I got a cube and stretched it out at the bottom under the blade (this will act as a holder after you impale stuff or just so it can also be used as a hammer for versatility)

Then I pointed it and smoothed out the curves a bit more so again it looks more natural instead of rigid edges

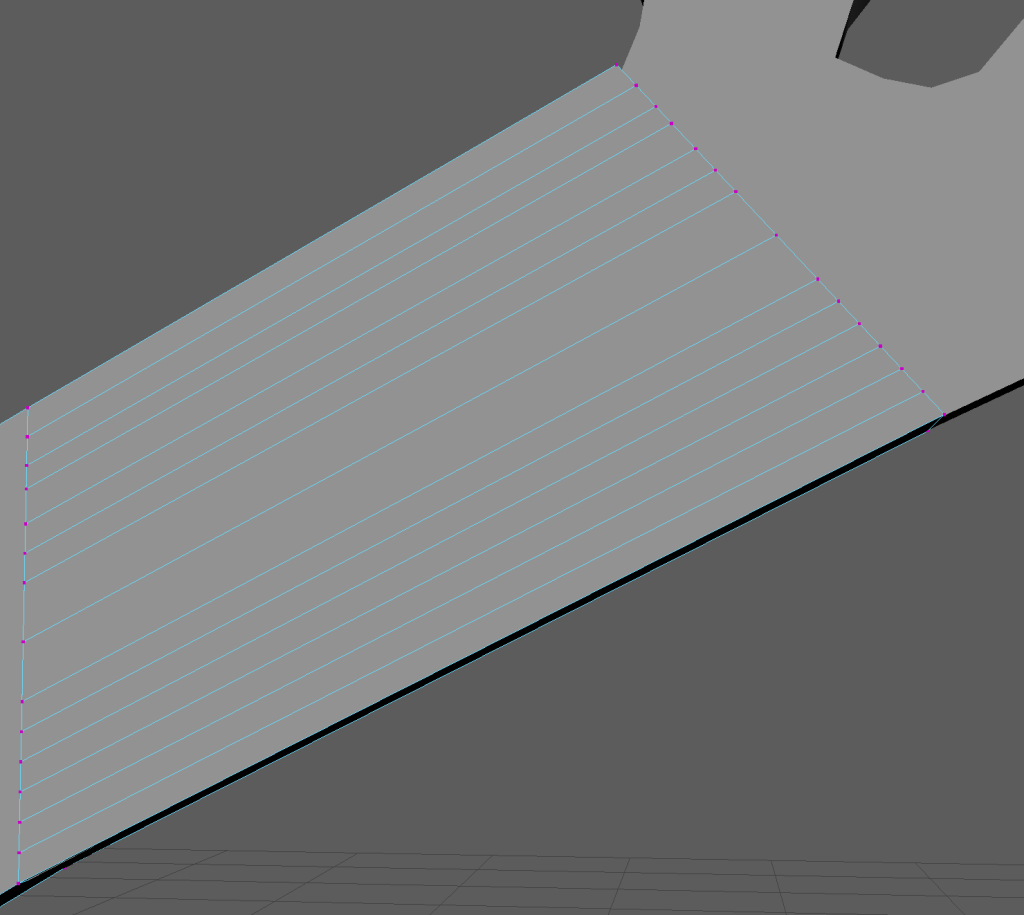
Then I got another cylinder and put it over the grip holes, adding lines with the multicut tool

And then pulling them in with the scale tool, leading to a sort of leather straps look I wanted for the grip

And then we moved to the bottom where I wanted to make a holder for the gem giving the spear its power, so I got a cylinder and after the part holding it on the spear I separated it with the multicut tool. Then I removed the faces in between for this kind of claw look, which will show off the gem and still keep it secure

Then I smoothed them out so they look less rigid and more like an actual claw

Then when I was trying to make the insides of the claw I had to remove the top faces, I was trying to bridge the gaps like you see above but it wasn’t letting me, so after asking a friend they showed me I could after removing the top, I added them back after of course

Then I used the bridging tool to add the inner parts of the claw, using merge to center in edit mesh to make sure the extended sides connect to their respected claw correctly

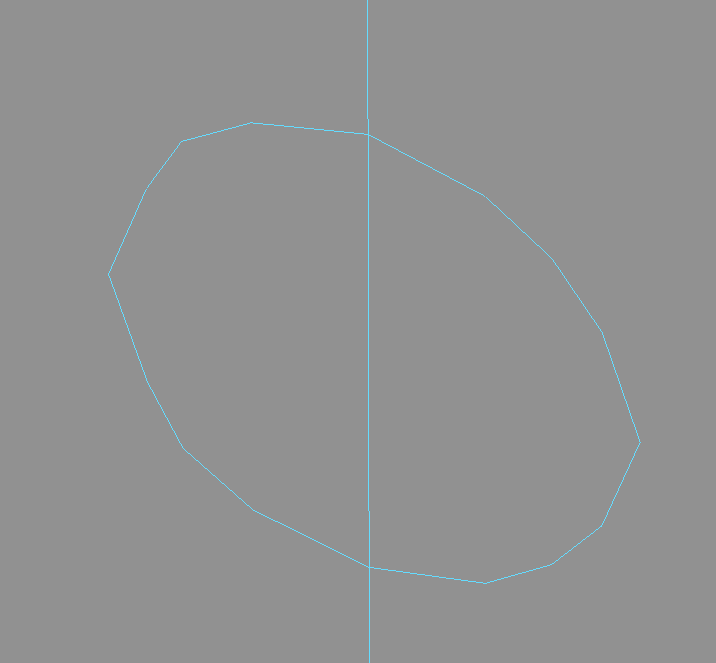
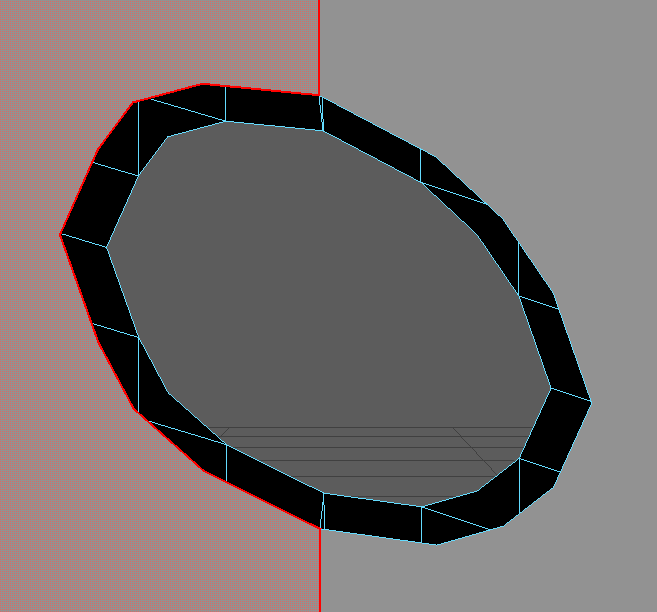
Then lastly of course I need to add the actual gem, for this I put in a sphere and connected it to the vertices to make sure it fits well in the holder

Then after that I thought it looked abit flat, so I brought out the outermost part more

Then I tried to make the bottom look less flat as well with the multicut tool, here I realized the gem shouldn’t be filled perfectly fitting in the holder as it looks abit too perfect

And so I shrunk the gem abit so that it seems more natural

Then here is the finished spear aswell
Now with them both done I can make a high poly version and move on to UV unwrapping